
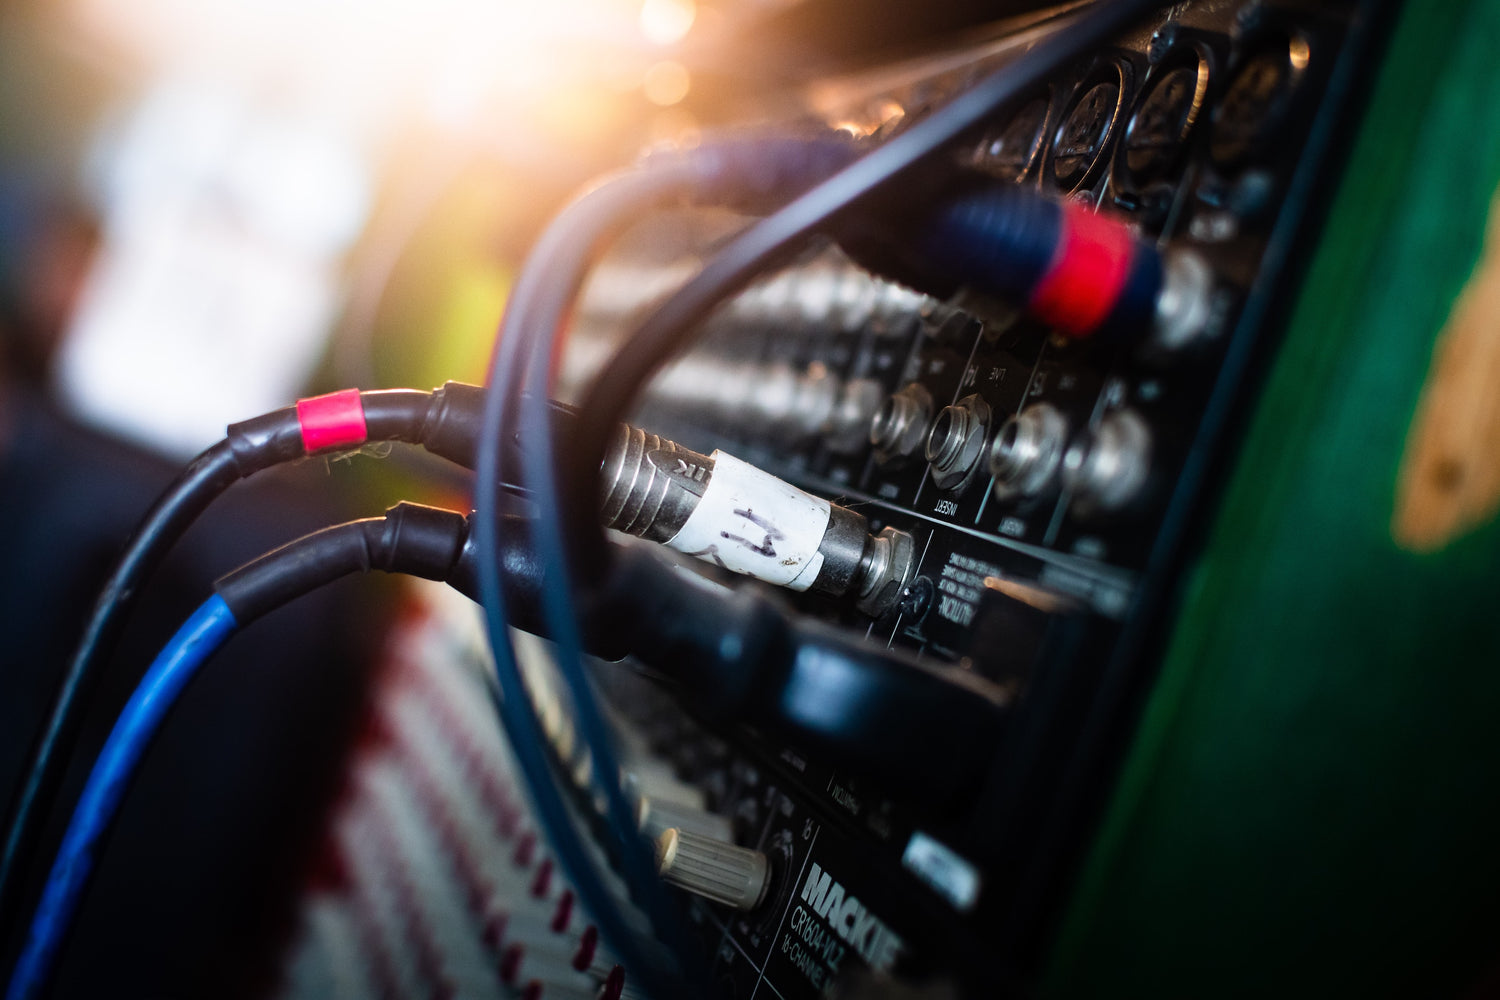
Photo by Sergio Capuzzimati on Unsplash
Cable management and storage might not be the most exciting topic, but it's an essential one for anyone who wants to keep their workspace, studio or stage clean and organized.
Poor cable management can lead to frustration, wasted time, and even accidents. Audio cable organization makes performing and recording easier and more enjoyable.
In this definitive guide, we'll explore the best practices for cable management and storage, so you can keep your workspace tidy and safe.
Assess Your Needs
Before you start organizing your cables, take the time to assess your needs. Consider the number of devices you have, the length of the instrument cables you need, and the location of your power outlets. Having a clear understanding of your goals will help you choose the right solutions for your workspace.
For musicians, there are some special considerations. Balancing your space with the necessary gear can be tricky.
- Take note of the main power sources. If you're daisy-chaining pedals on your board, ensure the primary power source is located near your amp.
- Speaking of which, how many amplifiers are you running? This goes double for performing live, where you can't control the positioning of your gear as much as you can in the studio or practice space.
- If you're traveling for gigs, having a concise setup is vital. Which cables are going to maximize your efficiency?
Label Everything
One of the most critical steps in cable management is labeling. Labeling cables will save you time and headaches when you need to identify a specific patch cable or device.
Use color-coded labels or markers to make it easy to identify each cable's purpose as well as where it connects.
Invest in Cable Management Accessories
There are many cable management accessories available that can help keep your workspace organized. Cable trays, cable sleeves, and cable covers can all help conceal cables and prevent them from becoming tangled or exposed.
Consider which accessories will work best for your workspace and invest in quality solutions that will last.
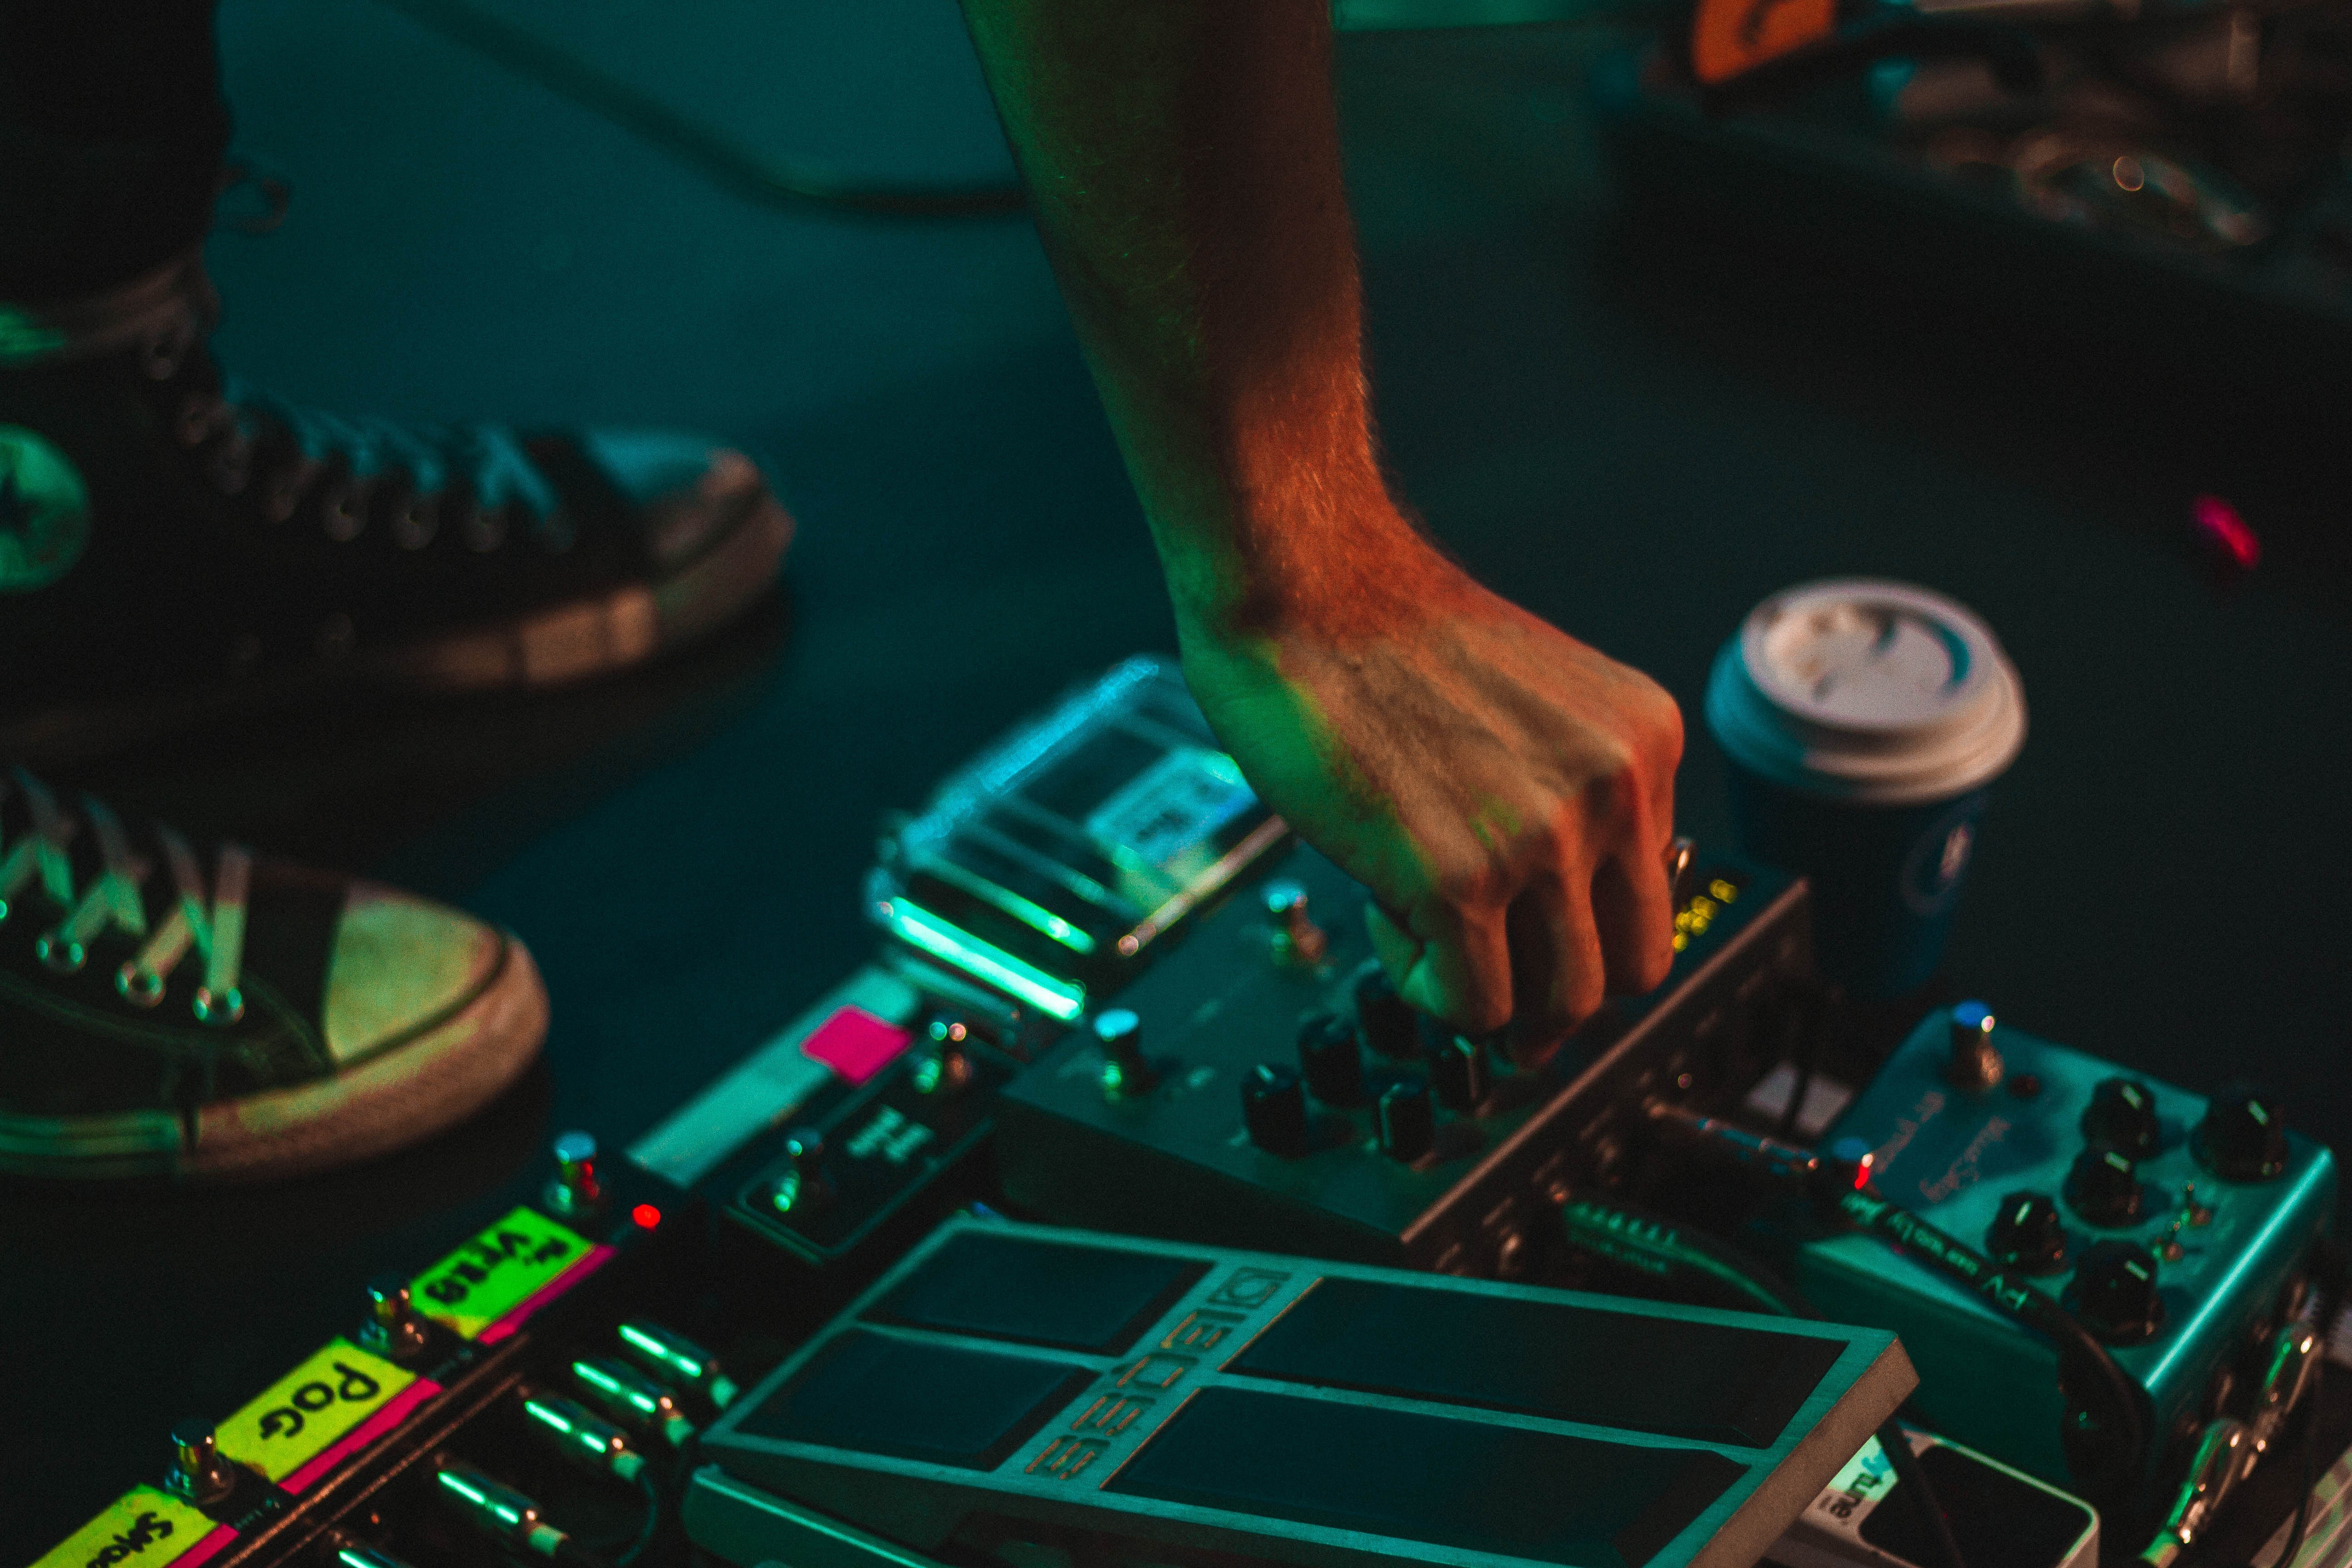
Tripping over cables on stage or in the studio can mean more than just a ruined song. It can mean damage to your amps, guitars, pedals or even laptop.
Minimizing slack can be crucial, but keeping your cables themselves safe is important, too. Fortunately, there's a device that solves both these issues at once. Give it a look: the Cabli. Here's a glance at what it does:
- Keeps cables safe and wrinkle free in a lightweight, compact space.
- Wraps both end of your instrument cables at once, so you're done in seconds flat.
- Allows you to pull the exact amount of slack you want, so your studio, practice space or stage is neat, tight and efficient.

Create a Charging Station
If you have multiple devices that need to be charged, create a designated charging station. This could be a drawer, a shelf, or a charging dock.
Having the dedicated space for charging will help to develop the habit of keeping your devices ready for action.
Performing live takes a great deal of preparation. Nothing ruins a set quicker than a dead battery or a software crash. If you're using your laptop to connect a DAW, make sure you're at 100% battery, and double check to make sure your software, backing tracks, or plug-ins are all properly set.
Separate Your Cables Based on Their Function
Another way to streamline the process of performance (especially in the studio) is to organize and separate your audio cables by the function they serve.
Then, when you get in a situation where a cable shorts, or isn't long enough to connect your gear, you'll know where to grab the replacement. We'd recommend focusing on these categories.
1/4" Instrument Cables
By far the most common cable for musicians, quarter inch audio cables are a staple for connecting guitars, basses, and other instruments to your amp. You can never have too many of these, so stack em' up (maybe in your new Cablis) and put them together.
XLR Cables
A must for connecting your microphone to the PA or amplifier, XLR cables are a staple of any studio, practice space, or stage.
5-Pin MIDI Cables
MIDI-enabled pedals and gear are becoming more and more common in music, and a lot of setups can't live without them. We recommend having a few on hand.
Patch Cables
Used for connecting pedals to other pedals and saving space on your pedalboard, keep some patch cables on hand for the sake of convenience and neatness.
USB Cables
Songwriting and editing in the digital age means doing a lot of work in a DAW (digital audio workstation). DAWs like Pro Tools, Logic Pro and Ableton offer an unbelievable range of effects, EQ options, and stock digital instruments.
You can connect your MIDI keyboard, MIDI controller, microphone and more using various USB cables. The subsets of USB cables that you'll encounter most frequently are:
- USB-B Cables: the standard for MIDI keyboards, this will allow you to plug directly into your desktop or laptop.
- USB 2.0: often used to plug in USB microphones
- USB-C: Newer models of Macbooks and other Apple products now use USB-C cables.
Learn Proper Cable Wrapping Techniques
If you don't have a Cabli Cable Management System, you'll want to learn to wrap your cables yourself. Taking the quickest route there seems convenient, but can result in a much shorter life for your cables, as well as shorts and dead connections.
You can check out our blog for guidance on how to wrap audio cables, but here are a few key takeaways to bear in mind:
- Never pinch your cables. Wrapping instrument cables too tightly is the most common mistake musicians make.
- Don't tie your cables. Not only can this cause kinks in the cable, it can produce shorts in the wiring itself.
- There are better options than the "Over the arm" method. While using the "over over" style of cable wrapping is far better than most other options, it can still cause the gradual deterioration of your cables.
Instead, do the "over under" method. Here's what it will look like:

Common Cable Problems and How to Fix Them
Cable Humming
Ever plug in your guitar cable and it starts humming right away? This is arguably the most common problem musicians encounter with audio cables.
If you're experiencing this, the cable may be unbalanced. If it's working parallel to another cable that's unbalanced, it's going to cause that annoying hum.
Make sure you're always buying balanced cables to prevent unwanted noise.
Cable Mixups
This might seem obvious, but keeping track can be trickier than it seems. For instance, the difference between a standard TS instrument cable and a TRS cable is tough to see. Here's the difference:

This is important, because if you plug a TS cable into a mixer, you'll get a mono signal. If you want a stereo signal, you need to use a TRS cable.
Make sure you're double checking your gear, and bear in mind the importance of organizing your cable types.
Let's Wrap it Up
This concludes our guide to audio cable storage. We know it can seem a bit daunting to remember.
Using the Cabli for cable storage makes things much, much easier. Let's take a look at it in action.
Be sure to subscribe to our TikTok, Instagram and YouTube channel for more content, and sign up for our email newsletter to get the latest deals as soon as they happen.
Keep making music, and keep rockin'
Singular Sound
Leave a comment
All comments are moderated before being published.
This site is protected by hCaptcha and the hCaptcha Privacy Policy and Terms of Service apply.